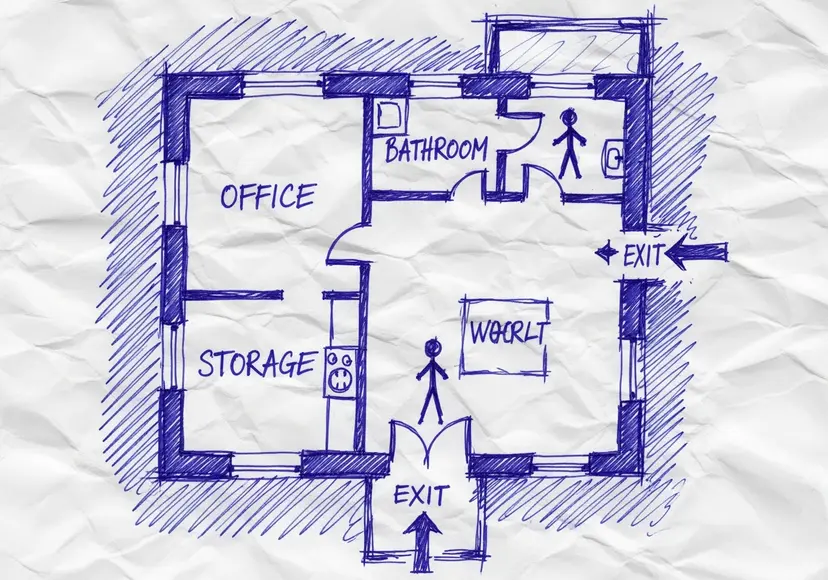
Name designated exits
A door is not automatically an exit. Mark only exits your site has designated and checked.
From paper reference to reviewable draft
Use a well-lit photo of one paper sketch as the starting reference. The editable draft gives your team a place to review the exits, usable routes, orientation, and safety details a photo cannot know.
Start with the source drawingA drafting aid for U.S. workplaces—not an approval, survey, or substitute for site-specific review. Requirements can vary by building and locality.
01
The useful distinction
It gives a team a shared reference for the page they already use.
A clearer image helps comparison, but it does not confirm exits or routes.
02
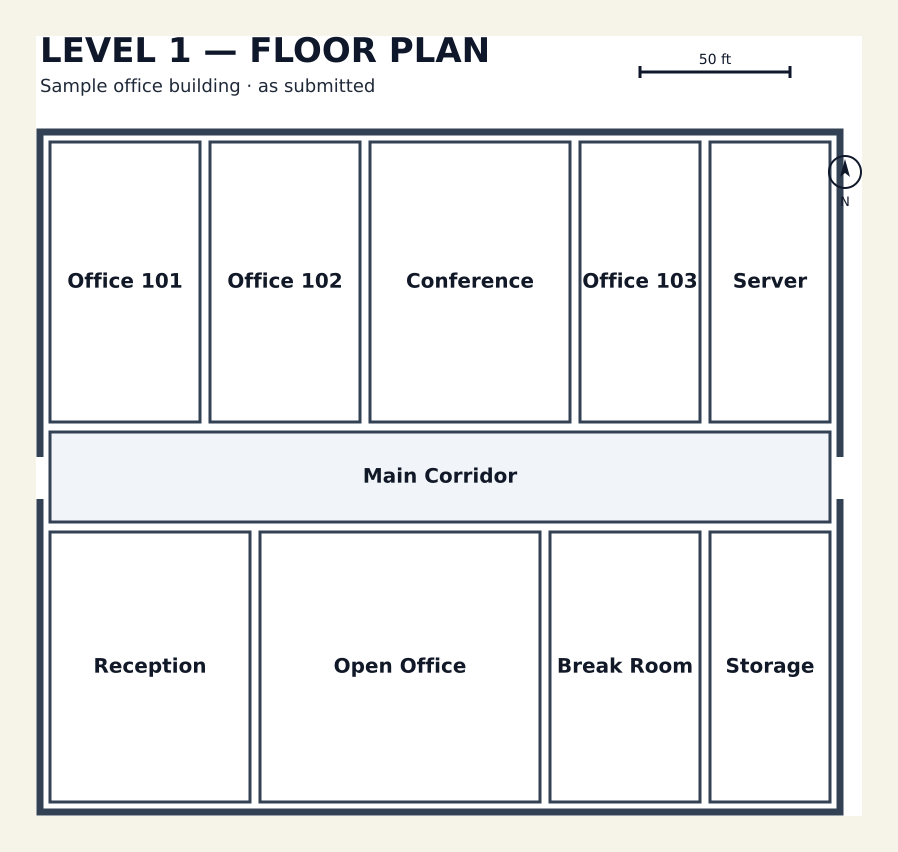
Illustrative source preparation
This owned illustration uses a synthetic plan to show a readable source page. It is not a browser recording or evidence that a sketch upload has been accepted.
03
Consultant-style review prompts
A door is not automatically an exit. Mark only exits your site has designated and checked.
Do not draw through storage, locked areas, or a path the site has not checked.
Set orientation and a verified “You are here” location for each posting point.
Confirm fixtures, alarms, stairs, and assembly information before adding them.
04
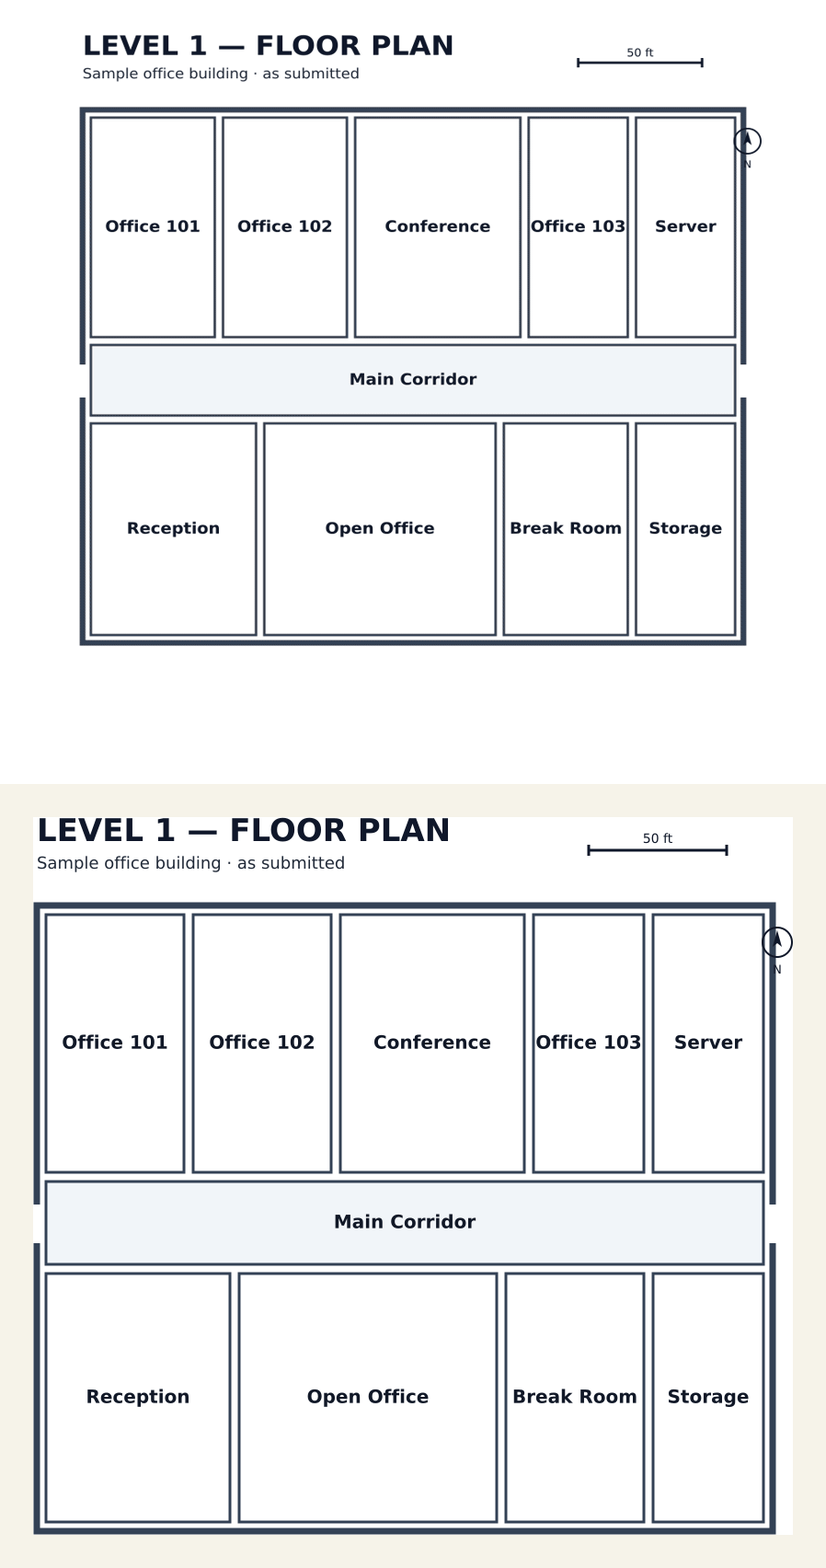
Illustrative annotated source plan
This owned illustration adds fictional safety annotations to a clean synthetic plan. It is not a reconstruction demonstration, route calculation, or verified safety placement.

Designated-exit labels · route arrows · “You are here” · north orientation · verified-on-site fixture placeholders · assembly direction
05
Keep the evidence honest
06
A practical walk-through
07
Open the workspace
Use the original drawing as your comparison reference while editing the draft.
Drag & drop your floor plan here
or
PNG, JPG, HEIC, TIFF, BMP, SVG, AVIF, WebP, PDF, DOC, DOCX, PPT, PPTX, XLS, XLSX, ODT, ODP, ODS, DXF, DWG - Hand-drawn sketches work too!
No floor plan handy? Try the included floor plan with real AI generation — no upload needed. This may take a minute or longer.
Yes — you can generate your first OSHA-aligned evacuation map draft completely free. Just upload a floor plan and our AI drafts a professional map in about 30 seconds. No credit card required.
Our AI drafts maps that follow OSHA 29 CFR 1910.36–37 and NFPA 101 Life Safety Code standards. Every map includes clearly marked exits, fire extinguisher locations, assembly points, and directional evacuation arrows. Supervisor review is required before posting to your facility.
We accept PNG, JPG, GIF, WebP, BMP, TIFF, AVIF, HEIC, SVG, PDF, DOC/DOCX, PPT/PPTX, XLS/XLSX, ODT, ODP, ODS, DXF, and DWG floor plans. Office and CAD files are converted securely before processing; PDF uploads let you choose the source page.
Most maps are generated in 20–40 seconds. Complex multi-floor plans may take slightly longer. You see the preview instantly — create a free account (no credit card) to download the file.
Yes — every generated map opens in a free drag-and-drop editor where you can move, resize, and recolor exit signs, routes, and equipment icons. Enterprise features like multi-floor support and branded maps are available on paid plans.
Yes. All uploads are encrypted in transit (TLS 1.3) and processed in secure cloud environments. We do not share your floor plans with third parties.
08
Before a map leaves the desk
Compare the source. Correct walls, doors, room names, and unclear areas against the drawing and current conditions.
Confirm safety locations. Mark actual fixtures and alarm devices—not symbols inferred from old paper.
Plan for people. Coordinate evacuation assistance around the actual arrangements and needs of the site.
Review changes. Update the map when layouts, exits, fixtures, procedures, or posting locations change.
09
Continue planning
Read the practical guide for creating an evacuation map for a business, including the information to collect before a local review.
Read the business evacuation map guide10
Questions before you start
Use one complete, flat page with high-contrast walls, doors, room names, and corridors where possible. A photo is easier to compare when it has even lighting and all page edges are visible.
Yes. A straight, well-lit photo is a practical starting reference. Review unclear lines and labels against the original sheet and the current building.
No. Route markings are review items. Confirm designated exits, passable travel paths, alternate routes when your site has them, and the correct orientation with people who know current conditions.
Often the base drawing can be shared, but “You are here” placement and orientation may change by location. Check each intended posting point from the reader’s point of view.
No. It is a working draft. Before posting or distributing it, compare it with current building conditions, procedures, accessibility arrangements, and applicable local requirements.