๐Ÿ“„ Templates & ToolsEssential Guide

How to Create an Evacuation Map: Complete Step-by-Step Guide

The definitive guide to creating professional, OSHA-aligned evacuation maps for your facility, whether DIY or AI-generated.

6 StepsTo Completion
DIY or AIYour Choice
OSHAReview Needed
Download DIY Checklist

Skip the manual work - generate instantly

๐Ÿ›ก๏ธOSHA-Aligned
โญ7,500+ Maps Created
โœ…100% Satisfaction
๐Ÿ”
You searched:"How to create evacuation map"

๐Ÿ“„Step 1: Obtain Your Floor Plan

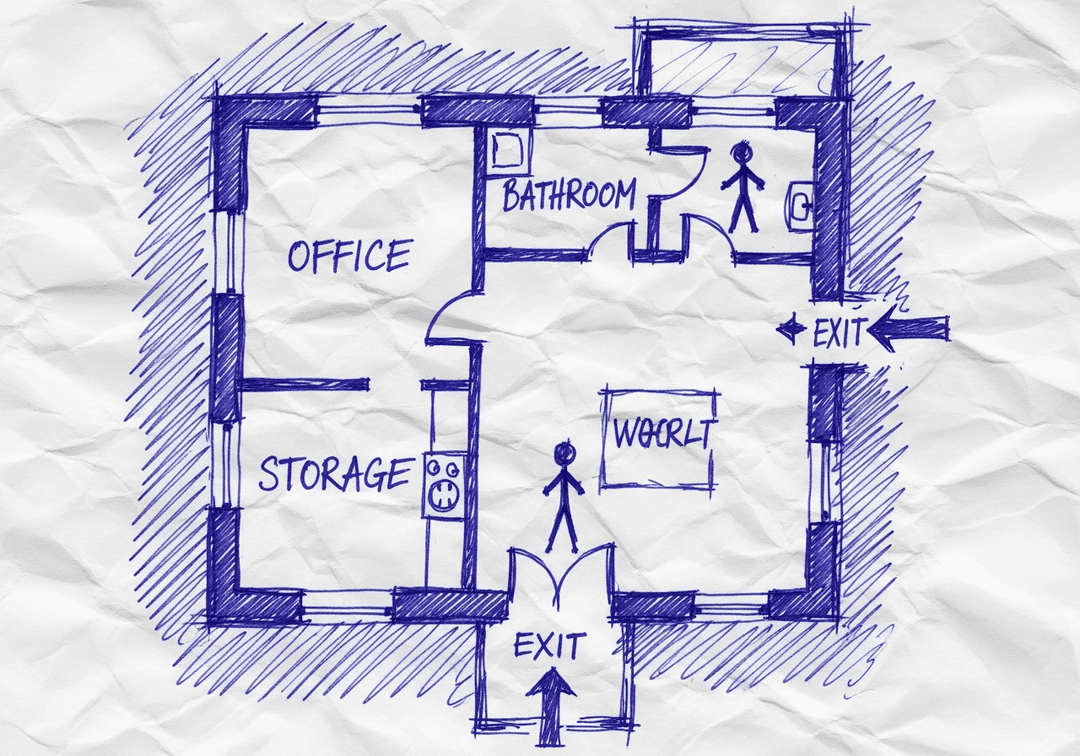
Start with an accurate floor plan of your facility. Sources include: original architectural drawings, building management, landlord or property management company, or you can create a basic floor plan by measuring your space. The floor plan should show all walls, doors, rooms, and major fixtures. If creating from scratch, use a simple drawing tool or even graph paper.

โœ“Step 2: Walk and Document Your Facility

  • โœ“Identify all exit doors and their locations
  • โœ“Locate all fire extinguishers and note their types
  • โœ“Find fire alarm pull stations
  • โœ“Locate first aid kits and AED devices
  • โœ“Identify stairwells and emergency exits
  • โœ“Note any areas with special hazards (chemical storage, etc.)
  • โœ“Find wheelchair-accessible routes and areas of refuge
  • โœ“Determine the outdoor assembly point location

๐Ÿ“„Step 3: Determine Evacuation Routes

For each area of your facility, identify the primary evacuation route (shortest path to nearest exit) and at least one secondary route (alternate if primary is blocked). Routes should be the most direct, unobstructed paths. Consider occupant load - high-traffic routes may need to be wider or split to multiple exits to prevent bottlenecks.

๐Ÿ“‹Step 4: Add Required Symbols

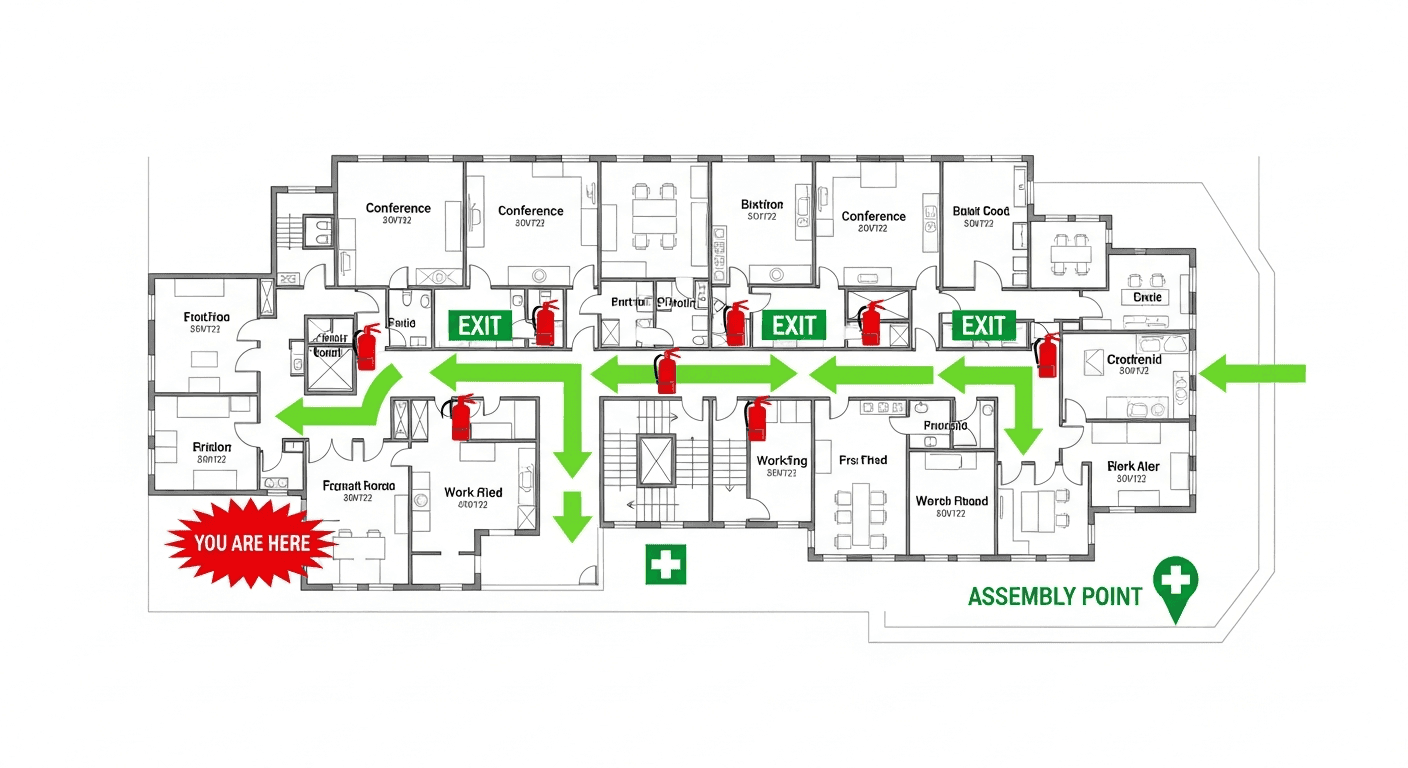
  • ๐Ÿ“‹"You Are Here" marker at the exact map posting location
  • ๐Ÿ“‹Green arrows showing primary evacuation route
  • ๐Ÿ“‹Alternate route indicators (can be dashed green)
  • ๐Ÿ“‹Red fire extinguisher symbols at actual locations
  • ๐Ÿ“‹Fire alarm pull station symbols
  • ๐Ÿ“‹Blue first aid/AED symbols
  • ๐Ÿ“‹Exit door symbols with "EXIT" label
  • ๐Ÿ“‹Assembly point marker (often star or flag symbol)
  • ๐Ÿ“‹Clear legend explaining all symbols used

๐Ÿ“„Step 5: Review and Validate

Have your safety officer, facilities manager, or local fire marshal review the completed map. Walk each route shown on the map to verify accuracy. Ensure all exits are accessible and correctly marked. Confirm "You Are Here" markers will be accurate for each posting location. Make revisions as needed before finalizing.

๐Ÿ“‹Step 6: Print and Post

  • ๐Ÿ“‹Print maps at appropriate size (minimum 11x17 for most areas)
  • ๐Ÿ“‹Use durable materials (laminate for high-traffic areas)
  • ๐Ÿ“‹Post at eye level (54-60 inches from floor)
  • ๐Ÿ“‹Install near all main entrances and exits
  • ๐Ÿ“‹Post in break rooms, conference rooms, and common areas
  • ๐Ÿ“‹Ensure map is visible from at least 10 feet away
  • ๐Ÿ“‹Create multiple versions with different "You Are Here" markers for different locations

๐Ÿ“…DIY vs. AI Creation Timeline

1

DIY: Gather Materials

Collect floor plans, safety equipment list, and drawing tools

2

DIY: Create Draft Map

Draw routes, place symbols, create legend

3

DIY: Review & Revise

Walk routes, get feedback, make corrections

4

AI: Upload Floor Plan

Simply upload your floor plan image or PDF

5

AI: Generate Draft

AI analyzes the input and prepares a map draft for review

6

AI: Download & Print

Download print-ready PDF and post

๐Ÿ’ก
Pro Tip

The most common DIY evacuation map mistake is creating one "master" map and posting copies everywhere. Each posting location needs its own unique "You Are Here" marker. If you post the same map at 10 locations, you need 10 different versions with the marker in 10 different positions. This is tedious for DIY creation but trivial with AI - our tool automatically generates unique versions for each posting location you specify.

๐Ÿ’ฐDIY vs. AI Cost Comparison

Traditional Consultant

8-20 hours of staff time + materials
1-2 weeks for multi-location
โ“

Frequently Asked Questions

DIY options include Microsoft PowerPoint, Visio, Canva, or even drawing by hand. However, AI-powered tools eliminate the need for any software skills - just upload your floor plan and receive a professional map.

DIY creation typically takes 4-8 hours per floor plus review time. AI generation takes under 5 minutes. For multi-floor or multi-location buildings, AI saves days or weeks of work.

A DIY or AI draft may be a useful starting point, but it still requires site verification and review under applicable standards and local codes. Complex facilities, unusual hazards, accessibility questions, or AHJ approval processes may warrant qualified professional assistance.

๐Ÿ“š

Generate Your OSHA-Aligned Evacuation Map

Upload your floor plan and get a professional, compliant evacuation map in minutes.

๐Ÿ“Š 5 Free Maps Left

Create Your Evacuation Map

See the safety plan from every angleWatch a sketch become a polished map, then step inside.Watch demo Need to start from a rough layout?Sketch rooms and exits, then turn it into a clear safety map.Draw your map
โœ๏ธ
High ContrastUse dark ink on white paper. Bold lines help our AI detect walls accurately
๐Ÿ“
Top-Down AnglePhotograph from directly above โ€” tilted angles distort the geometry
๐Ÿท๏ธ
Label RoomsWrite "Exit", "Storage", "Breakroom" etc. โ€” our AI reads your labels for compliance
๐Ÿ”
Full Floor PlanCapture the entire layout including all walls, doors, and exits โ€” no cropping
๐Ÿšช
Mark ExitsCircle or label exit doors with a red dot or "EXIT" text for best detection
๐Ÿ’ก
Good LightingAvoid shadows and glare โ€” even lighting produces the sharpest results
๐Ÿ“

Drag & drop your floor plan here

or

PNG, JPG, HEIC, TIFF, BMP, SVG, AVIF, WebP, PDF, DOC, DOCX, PPT, PPTX, XLS, XLSX, ODT, ODP, ODS, DXF, DWG - Hand-drawn sketches work too!

or

No floor plan handy? Try the included floor plan with real AI generation โ€” no upload needed. This may take a minute or longer.

Edit your map for free.
Move, resize, and recolor every exit sign, route, and icon.
Create a free account to save and download in HD. No credit card required.
FREE
๐Ÿ”’Your files are private: never shared, stored temporarily, deleted automatically.

Compliance Options

๐Ÿ”ฅ NEWโœจ

Customize Your Map

Add special requests for your safety map - tell our AI exactly what you need!

  • ๐ŸŽฏAdd specific details like "Mark fire extinguisher near kitchen"
  • ๐Ÿ“Request specific zones: "Highlight assembly point in parking lot"
  • ๐ŸฅAdd safety equipment: "Include AED location near reception"
0/2000

Quick Add:

Automatic (recommended)

Redraw the architecture from your floor plan first, then add editable safety markings. The original upload remains a reference, not the map background.

Frequently Asked Questions

Is this evacuation map generator really free?

Yes โ€” you can generate your first OSHA-aligned evacuation map draft completely free. Just upload a floor plan and our AI drafts a professional map in about 30 seconds. No credit card required.

Are the generated maps aligned with OSHA?

Our AI drafts maps that follow OSHA 29 CFR 1910.36โ€“37 and NFPA 101 Life Safety Code standards. Every map includes clearly marked exits, fire extinguisher locations, assembly points, and directional evacuation arrows. Supervisor review is required before posting to your facility.

What file formats can I upload?

We accept PNG, JPG, GIF, WebP, BMP, TIFF, AVIF, HEIC, SVG, PDF, DOC/DOCX, PPT/PPTX, XLS/XLSX, ODT, ODP, ODS, DXF, and DWG floor plans. Office and CAD files are converted securely before processing; PDF uploads let you choose the source page.

How long does map generation take?

Most maps are generated in 20โ€“40 seconds. Complex multi-floor plans may take slightly longer. You see the preview instantly โ€” create a free account (no credit card) to download the file.

Can I edit the map after generation?

Yes โ€” every generated map opens in a free drag-and-drop editor where you can move, resize, and recolor exit signs, routes, and equipment icons. Enterprise features like multi-floor support and branded maps are available on paid plans.

Is my floor plan data secure?

Yes. All uploads are encrypted in transit (TLS 1.3) and processed in secure cloud environments. We do not share your floor plans with third parties.